Make Your Own Custom Dog Collar
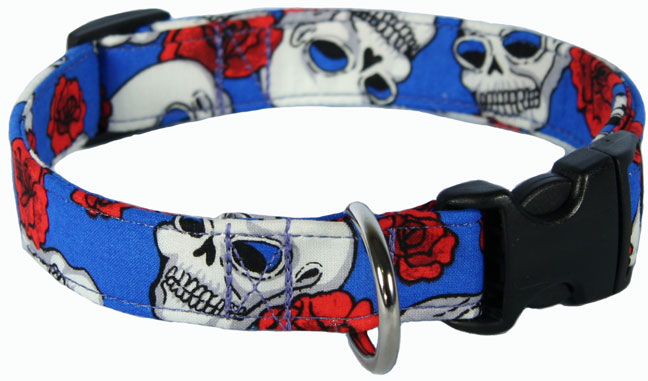
Do you want your dog to have a collar that is as unique as your pet? If you have basic sewing skills and a good sewing machine, then you can make your own basic dog collar.
Along with a sewing machine, you will need a few other items before you begin. You can find these at home, order them on line, or get them at your local sewing center. You could also get them from an old dog collar if you have one available.
What you'll need:
- Side-release buckle
- a D-ring
- Slider
- Webbing that is 12" longer than dog's neck measurement
The side-release buckle and other hardware items need to be the same width as the nylon webbing.
Measure around your dog's neck and add 12 inches to that measurement. If you want to sew a decorative ribbon down the center of the webbing, you'll need the ribbon to be the same length as the webbing.
One inch webbing is common for most dog collars. If you want your custom dog collar to stand out, y go with a wider width. You can go up to 2 inches wide for a larger dog. Just keep in mind that the hardware needs to be the same width.
If you want to add ribbon, cut it the same length as the webbing. Place the ribbon down the center of the webbing and securely sew along both sides. To keep the ribbon and webbing from fraying, carefully burn the ends with an open flame, taking care not to create a bump that will irritate the dog's neck.
Begin by threading one end of the webbing through the female end of the buckle. Fold the webbing over about 3 inches, and sew close to the buckle, stitching securely. Put the webbing through the D-Ring and position it close to the buckle you just attached. Sew securely, stitching to the end of the folded webbing.
Take the other end of the webbing and weave it through both openings of the slider, and then through the other buckle. Keeping the webbing flat, loop it back through the slider around the center post and loop it back on itself. Sew securely close to the center post. Your custom dog collar is now complete and ready for the dog fashion show!